Use the Navigator Panel
The Navigator panel (accessed by navigating to View > Panels > Navigator) is used to display the structure of the data contained in K2. The structure can relate to the Business Unit structure of the property portfolio or relate to the structure of users or roles for security.
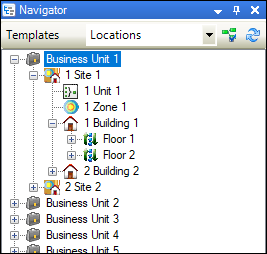
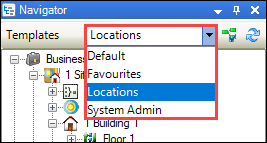
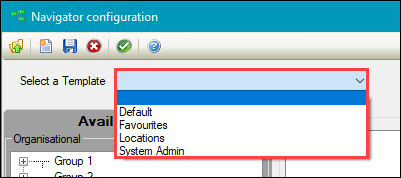
Select from the Templates drop-down to change the view.
To manage templates:
-
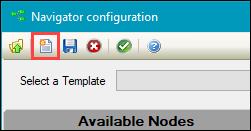
Click the Navigator Configurator button.
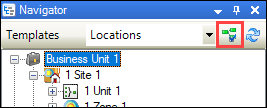
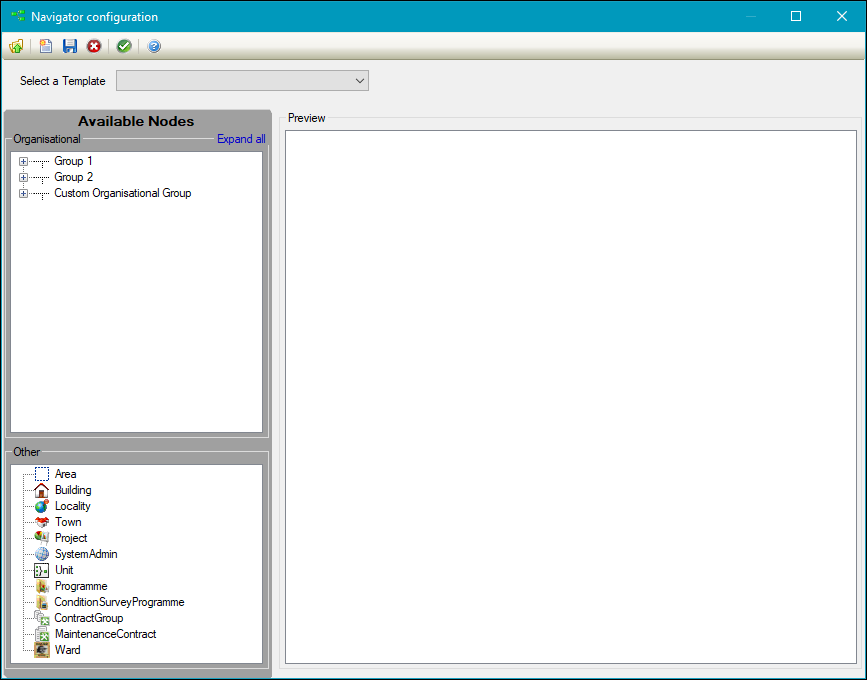
The Navigator configuration window is displayed.
-
Do one of the following:
-
Click the Add button to add a new template
-
Select from the Select a Template drop-down list to open an existing template
-
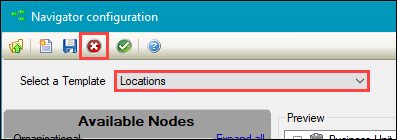
Select a template from the Select a Template drop-down list, and then click the Delete button to delete a template
-
-
Do one of the following:
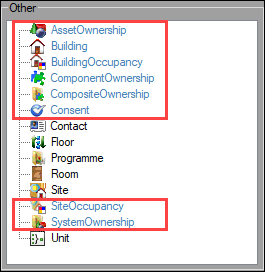
- Click and drag nodes from the Available nodes panel into the Preview panel
-
Group nodes in the Preview panel by right-clicking them and selecting the Group option in the drop-down menu
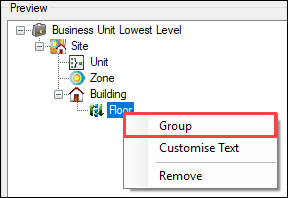
Note: Nodes that can be grouped are displayed in blue in the Other section.
-
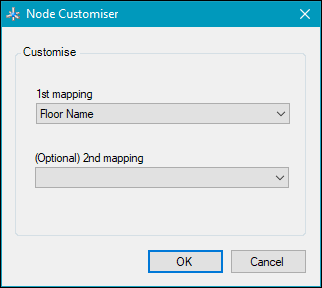
Configure the text to display in the Navigator panel by right-clicking a node, and then selecting the Customise Text option from the drop-down menu
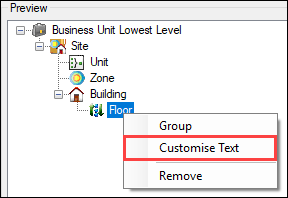
This displays the Node Customiser window, where you can select up to two pieces of information to display in the Navigation panel for the node.
-
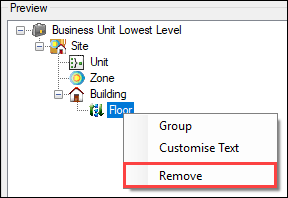
Remove nodes by right-clicking them and selecting the Remove option from the drop-down menu
-
Click Save.
The Save navigation template window is displayed.

- Enter a name for the template, select whether the template should be public (that is: available for other users) or private (that is: for your use only), and then click Save.